
If you want to start building websites without spending money on hosting or domains, WordPress installation for PC is the perfect solution. Installing WordPress locally on your Windows 64-bit computer allows you to practice web design, experiment with themes and plugins, and create complete websites — all without going live on the internet.
In this guide, we’ll walk you through how to install WordPress on your PC using Bitnami, a free and beginner-friendly tool. By the end, you’ll have a fully functional local WordPress site running right on your computer.
WordPress Installation for PC
Why Install WordPress on Your PC?
Before we dive into the steps, let’s understand the benefits of a local WordPress installation:
- Completely Free – No need to buy hosting or a domain name.
- Private – Your website is accessible only to you on your computer.
- Safe to Experiment – Test themes, plugins, and custom designs without breaking a live site.
- Faster Learning – Practice building sites offline without worrying about internet speed or downtime.
This makes it ideal for beginners, students, or anyone learning WordPress.
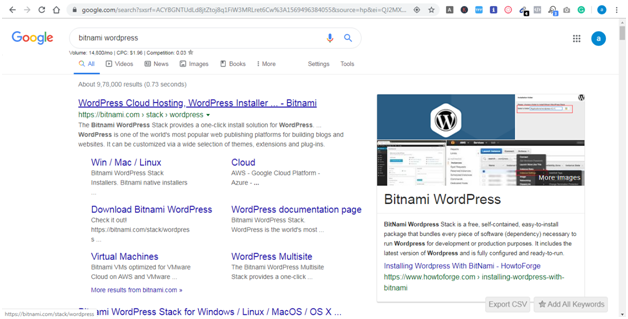
Step 1: Download Bitnami WordPress Installer
- Open Google and type “Bitnami WordPress” in the search bar.
- Click on the first official link from Bitnami’s website.
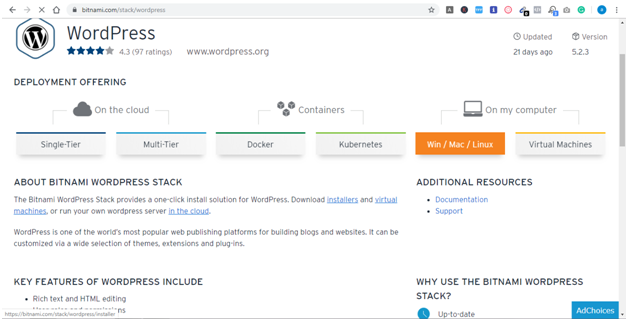
- Look for the Win/Mac/Linux button and click on it.
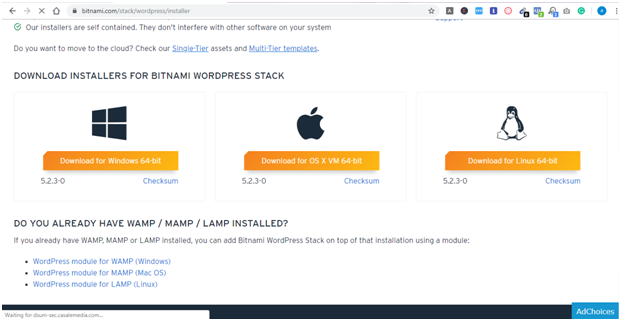
- Select Download for Windows 64-bit.
- Wait for the download to complete.
Tip: Ensure your PC is running a 64-bit version of Windows. To check, go to Settings → System → About and look under System Type.
Step 2: Install Bitnami WordPress on Your PC
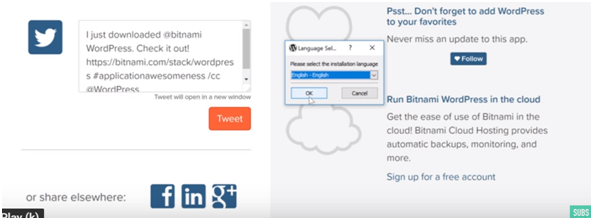
- Open the downloaded Bitnami WordPress file.
- Click OK to start the installation wizard.
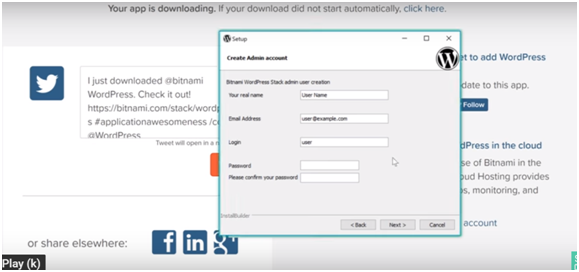
- Keep clicking Next until you reach the login details page.
- Fill in your information:
- Name – Your name
- Email address – Your email
- Username – For logging into WordPress
- Password – A secure password (note it down somewhere safe)
- Click Next again until the installation begins.
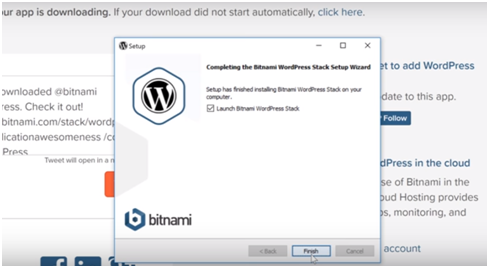
- Wait for WordPress to install completely.
- Once done, click Finish.
Step 3: Access Your Local WordPress Site
After installation, Bitnami will give you a link to Access WordPress.
- Click that link, and your default browser will open your local WordPress site.
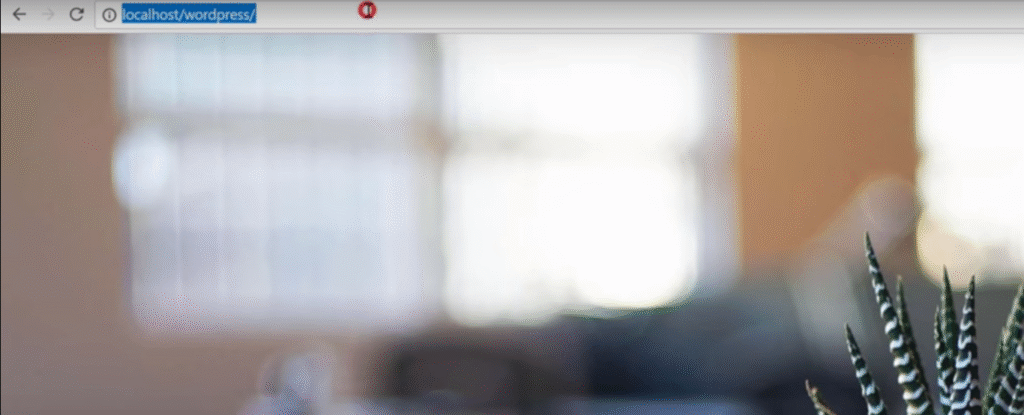
- Alternatively, type localhost/wordpress in your browser’s address bar.
If you want to log in to the WordPress admin dashboard, type:
localhost/wordpress/login
Enter your username and password from Step 2. Once logged in, you can start building and customizing your website.
Step 4: Start Building Your Website
With WordPress installation for PC completed, you can now:
- Install themes to change your site’s look.
- Add plugins for extra features like contact forms, SEO, and speed optimization.
- Create posts and pages to add content.
You can practice everything from blog creation to eCommerce setup without spending a single rupee.
Important Notes for Local WordPress Users
- Local Access Only: Your site is stored locally, so only you can view it.
- File Storage: All your site files are saved on your PC, inside the Bitnami folder.
- Going Live: If you want to make your site public later, you can easily move it to a web hosting provider.
Final Thoughts
Installing WordPress on your PC using Bitnami is one of the easiest ways to learn and practice web design for free. It’s safe, fast, and beginner-friendly. Whether you are a student, freelancer, or hobbyist, WordPress installation for PC is the first step toward becoming a skilled web developer.
So, download Bitnami today, follow the steps above, and start building your dream website from the comfort of your own computer.
Other Articles –
7 Best Pay Per Signup Affiliate Programs – Earn Up to $10 Per Signup
Best Recurring Commission Affiliate Programs for Beginners
Best 7 equipment for content creators