
In this complete guide, you will learn how to upload and install theme in WordPress using the dashboard. We will also cover how to delete unused themes, so your site stays clean and optimized.
If you want to give your WordPress website a professional and attractive look, then installing the right theme is the first step. Themes control the overall design, style, and user experience of your site. Many beginners find it confusing when it comes to uploading and installing a WordPress theme. Don’t worry—you’re at the right place.
How to Upload and Install Theme in WordPress
Why WordPress Themes Are Important
A WordPress theme defines how your website looks and feels. Whether you are creating a blog, business site, portfolio, or eCommerce store, the theme you choose determines:
- Layout and structure of your website
- Fonts, colors, and styling
- Mobile responsiveness
- User navigation and overall experience
The best part is WordPress offers thousands of free and premium themes to match your needs. You can find free themes directly at WordPress.org themes repository. Premium themes are available from theme clubs and marketplaces.
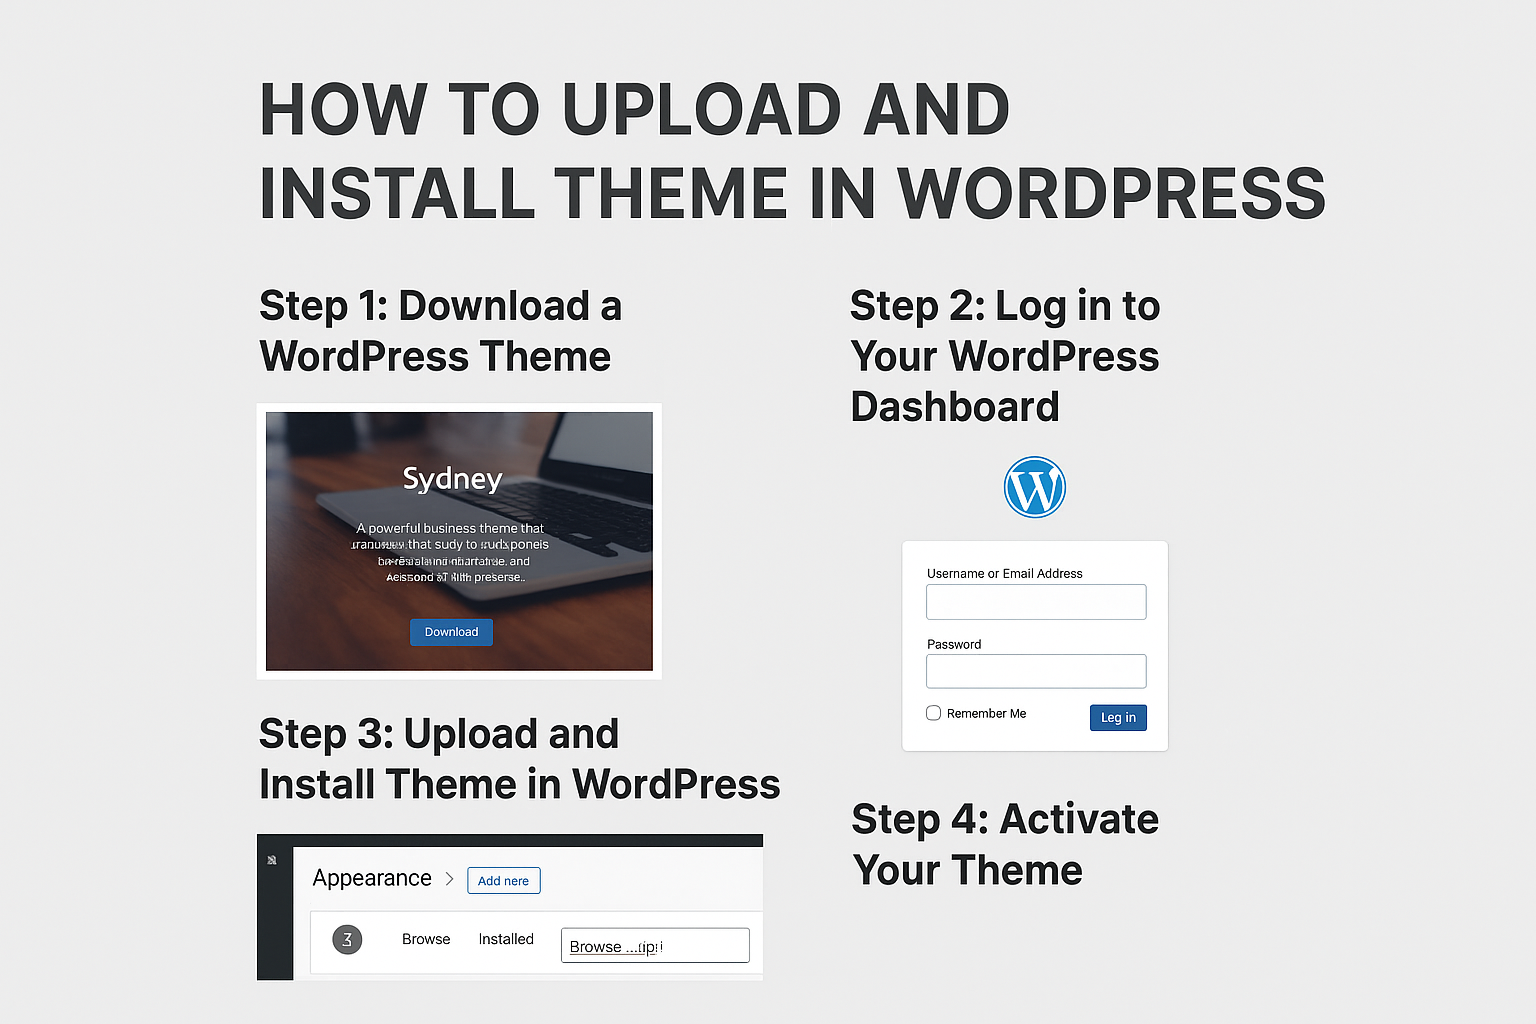
Step 1: Download a WordPress Theme
First, you need a theme file in .zip format.
- Visit WordPress.org Themes.
- Browse through the available options and choose a theme you like.
- In this example, let’s download the Sydney theme.
- Click the Download button, and you’ll get a file like
sydney.zip.
Remember: most theme clubs and marketplaces also provide theme files in .zip format.
Step 2: Log in to Your WordPress Dashboard
Now, log in to your WordPress admin panel:
- Go to
yourdomain.com/wp-admin - Enter your username and password to access the dashboard
Step 3: Upload and Install Theme in WordPress
Here comes the main part—uploading the theme.
- In your WordPress dashboard, go to Appearance > Themes.
- Click on the Add New button at the top.
- Next, click on Upload Theme.
- Choose the downloaded file (
sydney.zip) from your computer. - Click Install Now.
WordPress will now upload the theme to your server and install it automatically.
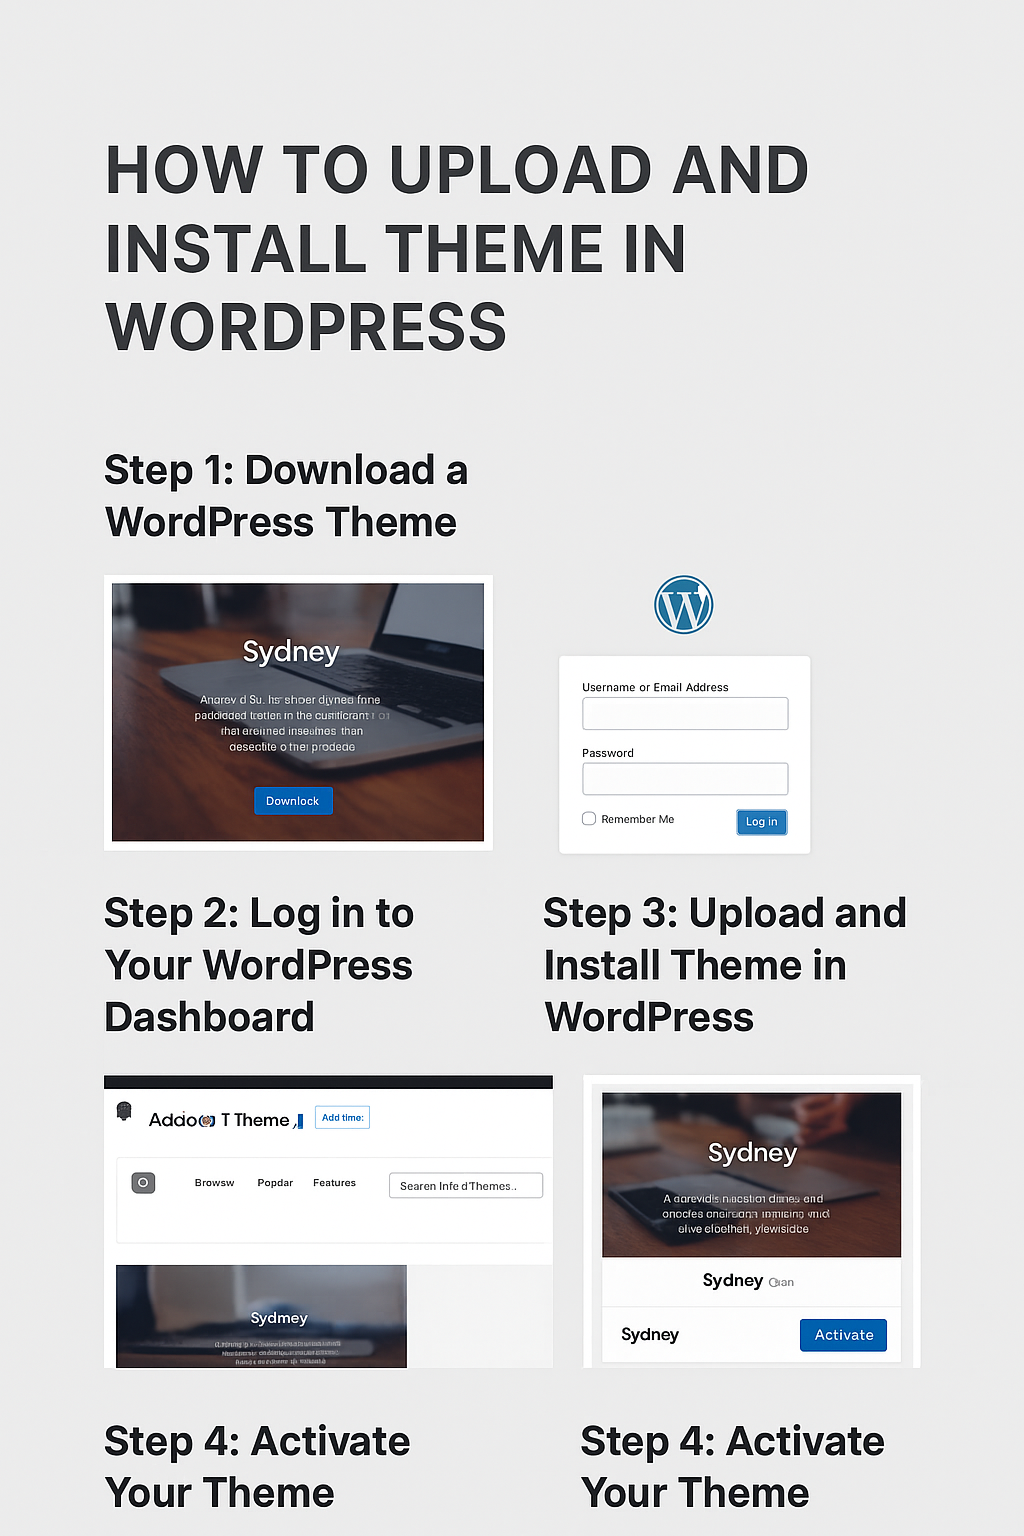
Step 4: Activate Your Theme
After installation is complete, you will see an option to Activate the theme.
- Simply click on Activate
- Your chosen theme will now be live on your website
Congratulations! You have successfully uploaded and installed a theme in WordPress.
How to Delete or Uninstall WordPress Themes
It’s always a good practice to keep your WordPress clean by deleting unused themes. Having too many inactive themes can take up space and may cause security risks.
Here’s how to delete them:
- Go to Appearance > Themes
- Select the theme you want to remove (make sure it’s not your active theme)
- Click on the Delete button at the bottom-right corner
⚠️ Important: Never delete your currently activated theme directly. Switch to another theme first, and then delete the old one.
Best Practices While Installing WordPress Themes
- Always download themes from trusted sources like WordPress.org or premium marketplaces.
- Make sure your theme is responsive (mobile-friendly).
- Keep your theme updated for security and compatibility.
- Delete any demo themes that you don’t use.
Final Thoughts
Learning how to upload and install theme in WordPress is essential for beginners who want to create a unique and customized website. By following the simple steps—download, upload, install, and activate—you can transform your site’s look within minutes.
Don’t forget to delete unused themes to keep your WordPress environment safe and optimized. With the right theme, your website will not only look professional but also provide a better experience for your visitors.
Read Other Articles –
7 Best Pay Per Signup Affiliate Programs – Earn Up to $10 Per Signup
Best Recurring Commission Affiliate Programs for Beginners
Best 7 equipment for content creators